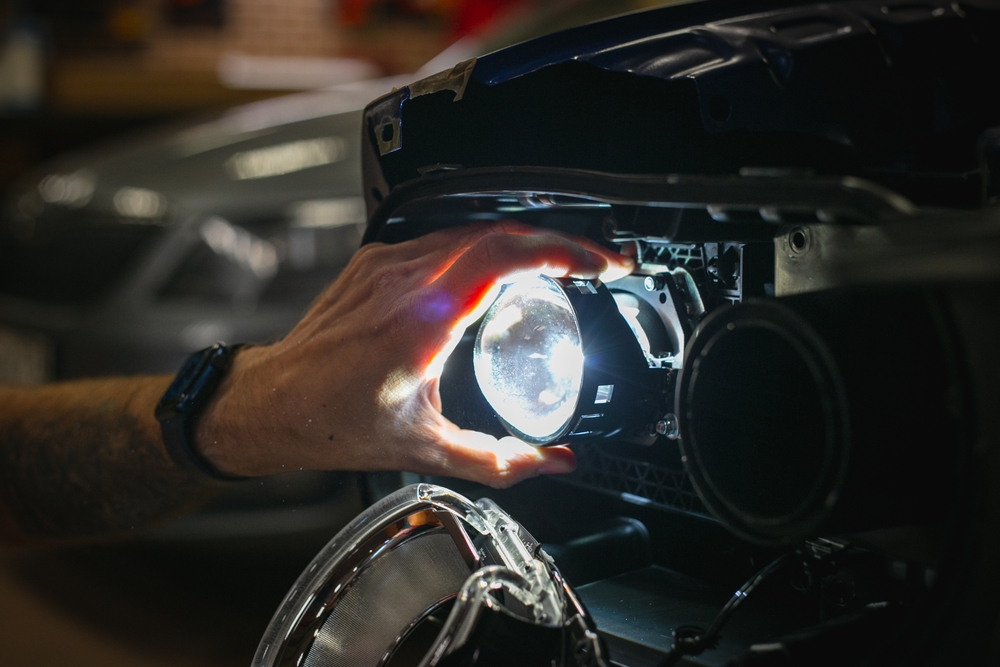
So you’re ready to take your motorcycle to the next level with some slick new LED lights, but you’re not exactly an electrical wizard? No problem. I get it – wiring can seem intimidating. That little voice might whisper, “Am I really gonna mess up my bike?” Relax. This guide will break down how to install LED lights on a motorcycle, making it easy even for wiring newbies.
You’ll be surprised how straightforward this project is. I’ll guide you through each step, boosting your confidence along the way. Let’s get started.
Choosing Your LED Lights
Are you searching for fairing lights on your Harley? Look no further for the best motorcycle headlight and more. There’s a huge variety of LED light options for motorcycles. Decide what type and color best suits your ride. Single-color LED strips are a popular choice, coming in cool shades like blue, red, or white.
If you want a show-stopping effect, multi-color LED kits might be your thing. These kits have remote controls to play with different colors and effects, like strobing, fading, or pulsing. Check out some examples here to see the awesome possibilities.
For improved visibility, consider sleek LED lights specifically designed for motorcycle headlights. These offer much better visibility than old-school bulbs.
Not all LED lights are created equal. Always choose high-quality, weather-resistant LEDs that can handle the road’s grit. You’ll thank yourself later when those lights keep shining through any storm.
Prepping Your Gear
Before you begin your LED light installation on a motorcycle, gather the following supplies: an LED light kit, wire strippers, wire cutters, wire connectors (if included), electrical tape or heat shrink tubing, a multimeter, zip ties, and screwdrivers.
Before you touch any wires, disconnect the batteries first. Locate the current light cables and connect the new LEDs. Connect the LEDs’ positive (red) wire to a switching power source while grounding the negative (black) wire to a solid metal point on the frame. To prevent issues, ensure that all connections are secure. Before you switch on the ignition, double-check everything.
Step-By-Step
First, disconnect the battery’s negative terminal to install LED lights on your motorcycle. Choose and clean the mounting areas with rubbing alcohol, then use painter’s tape to test LED strip placement. Plan your wiring route, avoiding hot spots and sharp edges. Connect the positive lead of each LED strip to a switched power source on your bike’s wiring harness and the negative lead to a bare metal part of the frame, ensuring solid ground.
Secure and cover connections with crimp connectors with electrical tape or heat shrink tubing. Reconnect the battery, tuck the wiring neatly, and switch on the ignition to admire your new LED lights.
Troubleshooting Like a Pro
If your LED lights do not turn on, first check the fuse and replace it if blown. Make sure all connections are tight and secure, and use a lead wire checker if necessary. If the wiring appears to be in good working order, the problem could be with the lights themselves; try swapping one out to test.
If your LEDs are dim, use a multimeter to check for voltage losses, and try bypassing existing light switches to enhance power flow. Flickering lights typically indicate loose connections; double-check to verify everything is properly attached. Always detach the battery before making any changes. Blinking LEDs are often a symptom of loose connections. Double-check all your connections, making sure nothing is loose. Always disconnect the battery again before making any modifications or enhancements to your wiring.
To guarantee safety, keep cables away from hot engine components and moving parts. Test your brakes, turn signals, and handlebars to ensure that the LEDs do not interfere with regular operation. Once everything is secure, test your brakes, turn signals, and handlebars, making sure the LEDs don’t get caught on anything during normal operation.
You can install LED lights on your motorcycle, but make sure to verify local legislation to prevent legal problems with extra lighting. To ensure that the LEDs turn on only when the ignition is turned on, connect them to a switched power source within your motorcycle’s wiring harness rather than straight to the battery. Popular installation locations include under the tail, under the forks, and within the fairings, but you can be creative with placement to fit your style.
To ensure correct operation, connect the positive LED wire to a switched power source and the negative wire to a clean, unpainted metal component of the frame for a secure ground connection. With these methods, your LEDs should function flawlessly while the bike is going.
Installing LED lights on your motorcycle doesn’t have to be complicated. By breaking the process into manageable steps and using the resources available, anyone can add these lights to their bike. With some planning, patience, and attention to detail, you can make your motorcycle stand out with brilliant LED illumination. Contact us today for more information.


